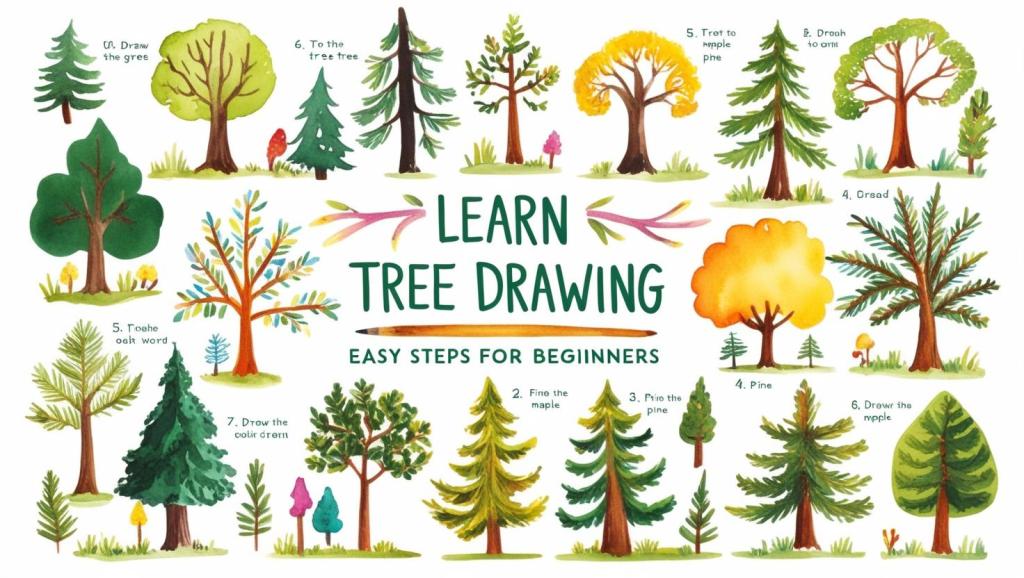
Drawing trees is more than just putting pencil to paper. It’s an opportunity to connect with nature, express creativity, and discover tranquility in the artistic process. Whether you’re an art enthusiast, an absolute beginner, or a curious young artist, learning to draw trees can be a delightful and rewarding endeavor.
This guide will walk you through all you need to know—from the reasons why tree drawing is a must-try activity to a complete step-by-step tutorial. Plus, you’ll pick up tips on creating realism, avoiding common mistakes, and unlocking your artistic potential.
Are you ready to bring your own forest to life on paper? Let’s get started!
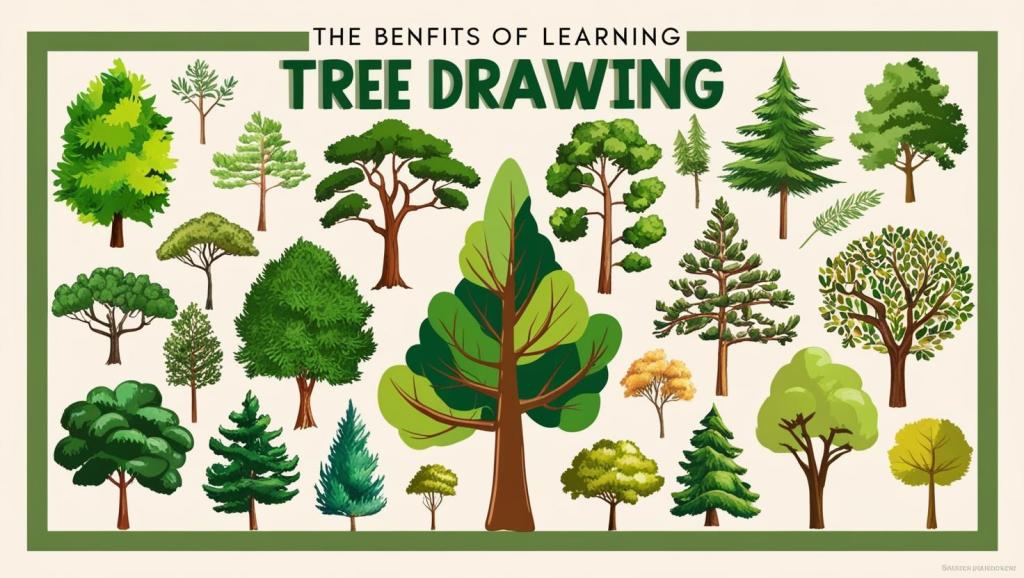
Why Learn Tree Drawing?
Trees have inspired artists for centuries, and for good reason. They’re majestic, versatile, and each one carries a unique personality. From the elegance of a willow tree to the sturdy presence of an oak, trees offer endless possibilities for creative expression. But why should you, specifically, learn tree drawing?
Therapeutic Benefits
Drawing trees isn’t just an art form; it’s therapy. The repetitive strokes for bark or leaves have a calming, meditative effect, helping to reduce stress and spark joy.
Educational Benefits
Observing and drawing trees enhances your attention to detail while teaching visual problem-solving skills. For kids and families, it’s a fun way to nurture creativity and curiosity about the natural world.
Celebrating Nature
Trees are vital to our planet. Learning to draw them fosters a sense of appreciation for nature and sustainability—values we should all celebrate and promote.
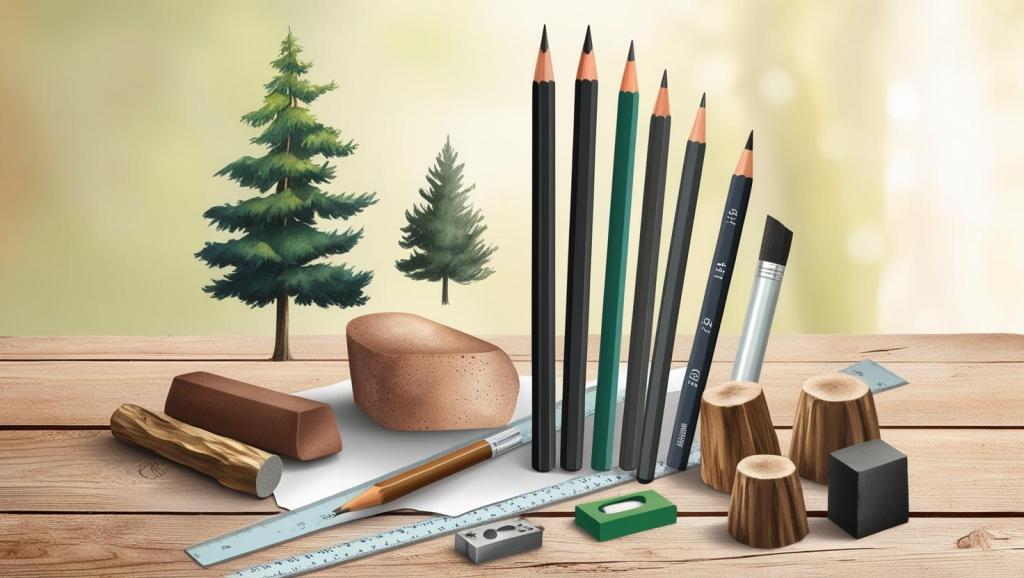
Essential Tools for Tree Drawing
Before we venture into drawing, you’ll need some basic tools. Don’t worry—no fancy equipment is required to get started!
Paper
Any smooth surface will work, but thicker paper is better if you plan to use color.
Pencils
Begin with a standard graphite pencil (e.g., HB for outlines and shading). Over time, experiment with other grades such as 2H (lighter lines) and 6B (darker, softer strokes).
Eraser
A soft eraser helps adjust mistakes and create highlights. Kneadable erasers are great for precision work.
Optional Materials
Fine-tip pens for detailsColored pencils or watercolors for added flairBlending stumps for smooth shading
Basic Tree Anatomy Before your tree comes to life on paper, it’s essential to understand its structure. Every tree can be broken down into three key components:
The Trunk
The foundation of your tree. Trunks vary in texture, from smooth to rough, and branch out into graceful extensions.
The Branches
These form the skeleton of your tree, spreading out in varying directions and sizes. Keep them uneven to mimic nature’s randomness.
The Leaves or Foliage
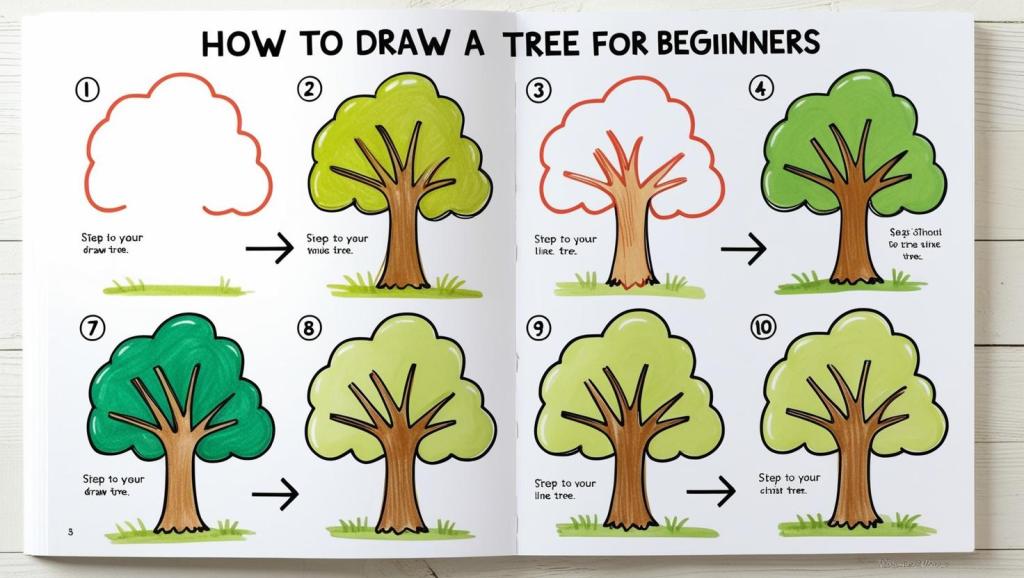
From clusters of dense greenery to delicate needle-like shapes, foliage defines your tree’s personality. Taking time to observe these details will help make your drawing more realistic! Step-by-Step Guide for Beginners Follow these simple steps to draw your first tree with confidence! Step 1: Sketch the Trunk Start by drawing two vertical, slightly curved lines for the trunk. The lines should taper as they move upward. Add a few jagged lines at the base to indicate roots. Step 2: Add Branches Extend uneven, wavy lines from the top of the trunk. Keep the branches thinner as they move outward. Experiment with different angles for a more natural look. Step 3: Block in the Foliage Using light, loose ovals or cloud-like shapes, sketch the outline of the foliage around the branches. Don’t worry about details yet—focus on placement and scale. Step 4: Add Texture Use short, jagged strokes to mimic bark on the trunk and branches. For leaves, small clusters of short lines or dots will give the impression of texture. Step 5: Refine Details Darken some areas to suggest shadows. Erase any unnecessary guidelines for a cleaner look. Add finishing touches like fallen leaves or ground details for extra character. Celebrate—you’ve just drawn your first tree! Tips for Realism and Creativity Want to elevate your tree-drawing skills? Here’s how to add depth and flair.
Play with Light and Shadows
Determine a light source and add shadows accordingly. Shade the opposite side of the trunk and darker areas within the foliage to create depth.
Experiment with Styles
Feeling playful? Try abstract or whimsical trees with exaggerated shapes and colors!
Observe Real Trees
Visit a park or garden to study the variety of shapes and textures. Take photos to use as visual references.
Use Color Thoughtfully
For fall vibes, incorporate shades of yellow and orange. Use blue and purple tones to create a mystical, dreamy effect. Common Mistakes and How to Avoid Them Even the best artists make mistakes! Here are some common beginner challenges and solutions.
Mistake: Perfectly symmetrical shapesSolution: Use uneven shapes and irregular branch placements for a more natural look.Mistake: Overcrowded branchesSolution: Leave blank spaces for balance and realism.Mistake: Flat-looking treesSolution: Add layering and shadows to create depth.
Importance of Practice Like any skill, tree drawing improves with practice. Set aside time each week to sketch trees with different shapes, sizes, and styles. Highlighting unique details like twisted roots or unusual leaf formations makes each drawing a learning experience. Take it a step further by drawing from life. Observe real trees in your environment—there’s no better teacher than nature itself. Resources and Further Learning Want to take your tree-drawing skills to the next level? Here are some helpful resources.

Leave a comment